Many people buy an SMM panel script and get confused after opening Hostinger. They see files, databases, PHP settings, and DNS options for the first time.
The process looks technical, but if you follow the correct steps, you can install most PHP based SMM scripts on Hostinger easily.
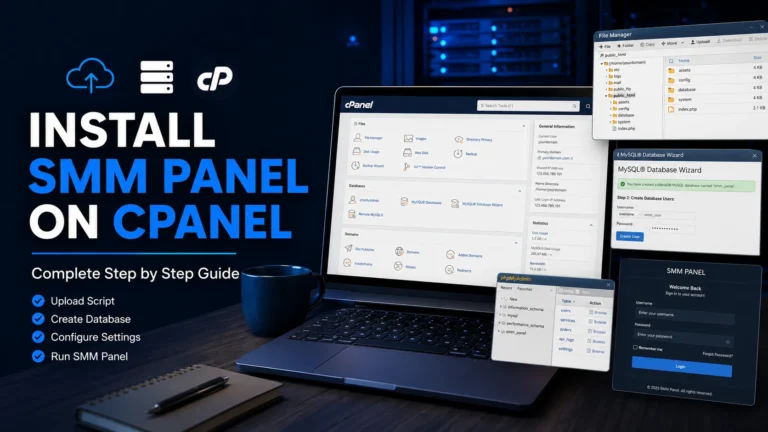
Hostinger uses hPanel instead of traditional cPanel. You can upload files through File Manager, create MySQL databases, and manage your website from the hPanel dashboard.
Step 1: Buy hosting and connect your domain
First, you need:
• Hostinger hosting plan
• Domain name
• SMM panel script files
• Database file (.sql)
• Script installation guide (if provided)
After buying hosting, add your domain inside Hostinger hPanel.
Go to:
Hostinger Dashboard → Websites → Add Website
Then connect your domain with hosting.
Wait until DNS changes are completed.
Step 2: Upload SMM panel files
Open:
Hostinger hPanel → Websites → Manage → File Manager
Open the public_html folder.
Delete the default files if you are installing the script on the main domain.
Upload your SMM panel ZIP file.
After uploading:
- Right click the ZIP file
- Click Extract
- Make sure files are directly inside
public_html
Your folder should look similar:
public_html

index.php
application
assets
admin
system
uploads
Do not keep another folder like:
public_html/smm-panel-files/index.php
because your website will not load correctly.
Hostinger File Manager allows uploading, extracting, editing, and managing website files directly from the browser.
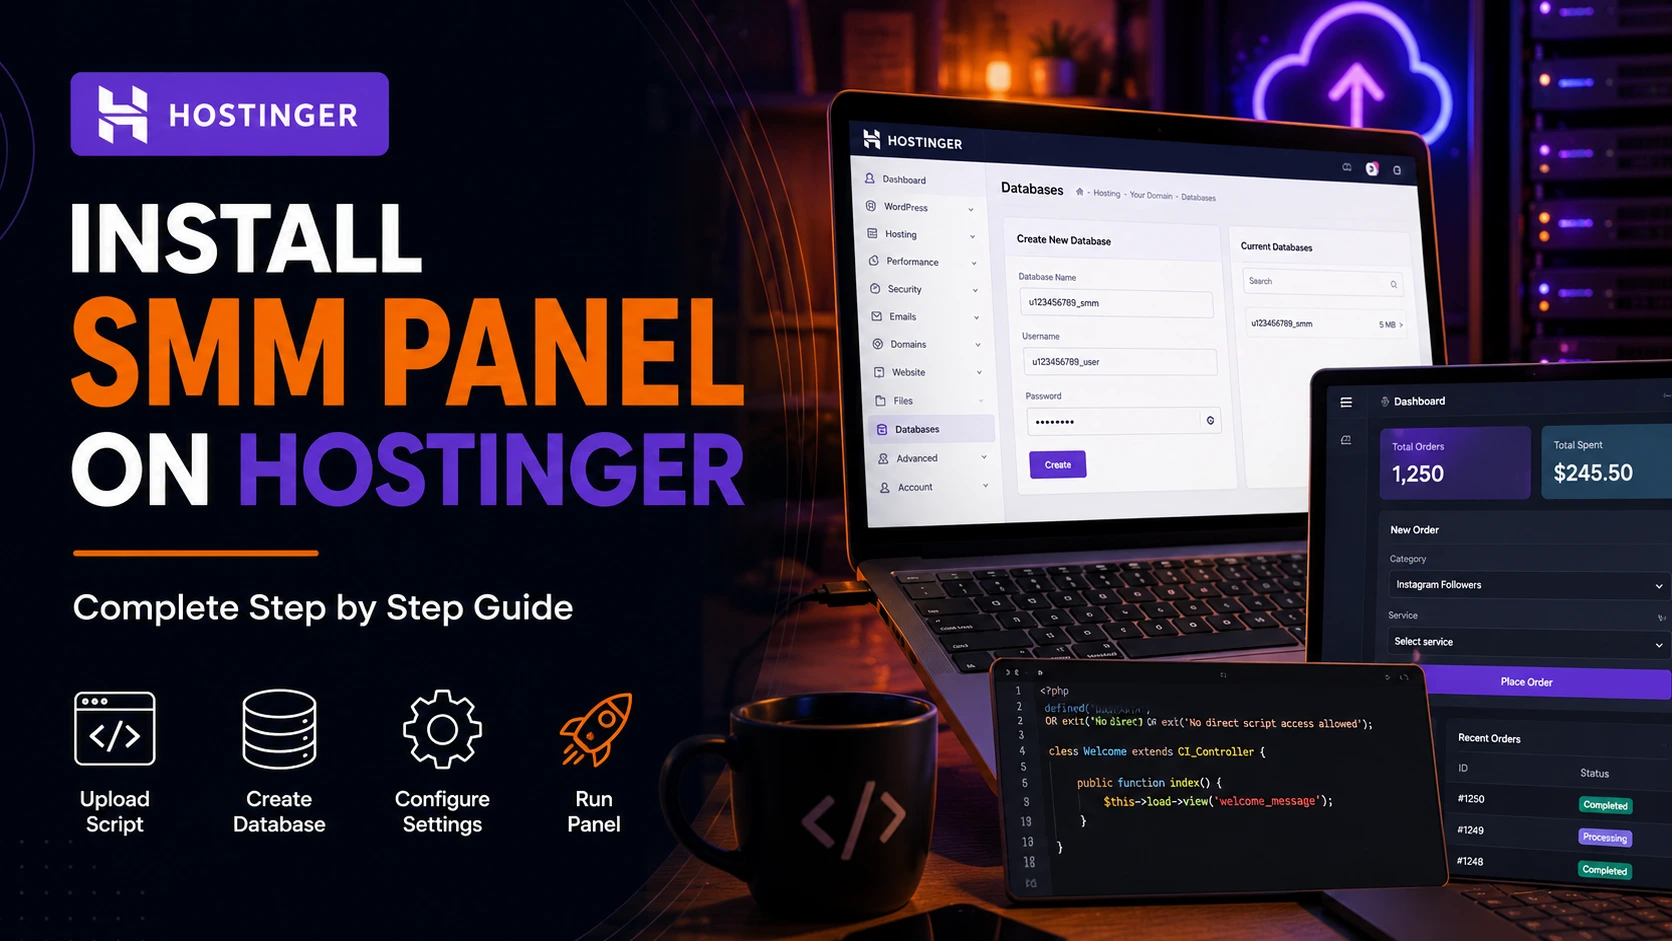
Step 3: Create MySQL database
Most SMM panel scripts need a MySQL database.
Go to:
Hostinger hPanel → Databases → MySQL Databases
Create:
Database name
Database username
Database password
Save these details.
Example:
Database Name:
u123456_smm

Username:
u123456_admin

Password:
yourpassword
You will need these details during installation.
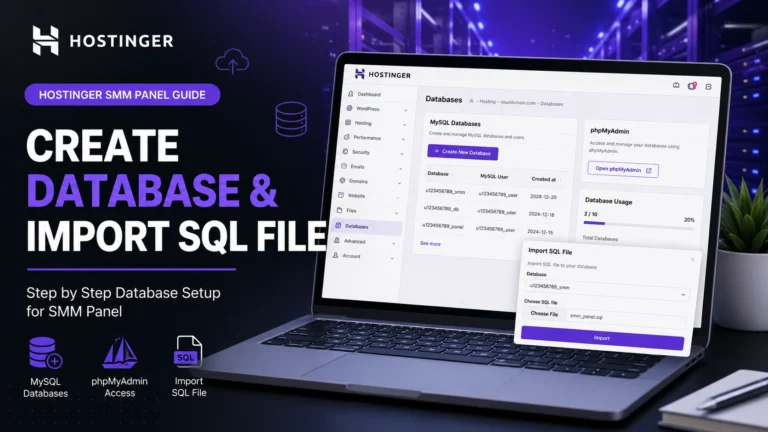
Step 4: Import database
Open:
hPanel → Databases → phpMyAdmin
Select your database.
Click Import.
Upload your script database file:
database.sql
Click Go.
After successful import, your tables will appear.
Step 5: Configure script settings
Most SMM scripts have a configuration file.
Common locations:
application/config/database.php
or
.env
or
config.php
Open the file and add your database details.
Example:
$db['default']['hostname'] = 'localhost';
$db['default']['username'] = 'database_username';
$db['default']['password'] = 'database_password';
$db['default']['database'] = 'database_name';
Save the file.
Step 6: Set PHP version
SMM scripts depend on PHP versions.
Go to:
Hostinger hPanel → Advanced → PHP Configuration
Select the required PHP version.
Many modern SMM scripts work with PHP 8.1, PHP 8.2, or PHP 8.3, but always check your script requirements.
Wrong PHP version can cause errors like:
500 Internal Server Error

Undefined function

Deprecated errors
Step 7: Install SSL certificate
Never run an SMM panel without SSL.
Go to:
hPanel → Security → SSL
Install free SSL.
Your website should open with:
https://yourdomain.com
Step 8: Run the installer
If your script has an installer, open:
https://yourdomain.com/install
or
https://yourdomain.com/install.php
Follow the steps:
• Check requirements
• Enter database details
• Create admin account
• Complete installation
After installation, remove the install folder if the script guide requires it.
Step 9: Setup cron jobs
SMM panels usually need cron jobs for:
• Order processing
• API updates
• Status checking
• Auto refill
• Service updates
Go to:
Hostinger hPanel → Advanced → Cron Jobs
Add the cron commands provided by your script.
Example:
php /home/user/public_html/cron.php
The exact command depends on your script structure.
Common Hostinger SMM panel errors
Error: Database connection failed
Check:
• Database name
• Username
• Password
• Database host
A single wrong character will stop the connection.
Error: Blank white page
Usually caused by:
• Wrong PHP version
• Missing PHP extension
• File permission issue
Check PHP version first.
Error: 500 Internal Server Error
Common reasons:
• Wrong .htaccess file
• PHP compatibility issue
• Script files uploaded incorrectly
Final checks after installation
Before launching your SMM panel:
✓ Test registration
✓ Test login
✓ Add payment gateway
✓ Add API provider
✓ Test order placement
✓ Check cron jobs
✓ Enable SSL
✓ Take a backup
Installing an SMM panel on Hostinger is mostly about uploading the correct files, connecting the database, and matching the server requirements with your script.
People also search for:
How to choose the best hosting for PHP websites
How to fix PHP errors in WordPress and PHP scripts
How to create an SMM panel using PHP script
Best payment gateways for SMM panels
Install SMM Panel Script on Hostinger in Minutes 🚀
Complete PHP SMM Panel Setup Guide
Can I install an SMM panel script on Hostinger?
Yes, you can install most PHP based SMM panel scripts on Hostinger if your hosting supports the required PHP version, database, and extensions.
Which PHP version is best for an SMM panel?
Most updated SMM scripts work with PHP 8.1, PHP 8.2, or PHP 8.3. Always check your script requirements before changing PHP versions.
Does SMM panel need a database?
Yes. Almost every SMM panel script requires a MySQL database to store users, orders, services, settings, and API information.
Why is my SMM panel showing a 500 error on Hostinger?
A 500 error usually happens because of PHP version mismatch, missing extensions, wrong configuration, or incorrect file upload.
Do I need cron jobs for an SMM panel?
Yes. Cron jobs handle automatic tasks like order updates, API synchronization, and refill checking.