How to Create a MySQL Database and Import an SQL File in Hostinger for an SMM Panel Script
Installing an SMM panel script involves more than uploading files to your hosting account. Every PHP based SMM panel stores its data in a MySQL database, including user accounts, services, orders, payment records, settings, and API configurations.
Without a properly configured database, the script cannot function correctly.
In this guide, you’ll learn how to create a MySQL database in Hostinger hPanel, import the SQL database file using phpMyAdmin, and prepare your hosting environment for a successful SMM panel installation.
Whether you’re installing a new panel or migrating an existing one, the process is simple when followed step by step.
Why Does an SMM Panel Need a Database?
A MySQL database acts as the storage system for your website.
Your SMM panel uses it to save:
- User accounts
- Service categories
- API providers
- Orders
- Transactions
- Wallet balances
- Support tickets
- Website settings
If the database isn’t connected correctly, your panel may display database connection errors or fail to load entirely.
Requirements Before You Start
Before creating your database, make sure you have:
- An active Hostinger hosting account
- Access to Hostinger hPanel
- Your SMM panel ZIP file
- The SQL database file (usually
database.sql) - Your domain connected to the hosting account
Having these files ready will make the installation process much smoother.
Step 1: Log in to Hostinger hPanel
Sign in to your Hostinger account and open the Hosting section.
Click Manage next to the hosting plan where you want to install your SMM panel.
This will open the Hostinger hPanel dashboard.
From here, you can manage files, databases, PHP versions, domains, and email accounts.
Step 2: Open the Databases Section
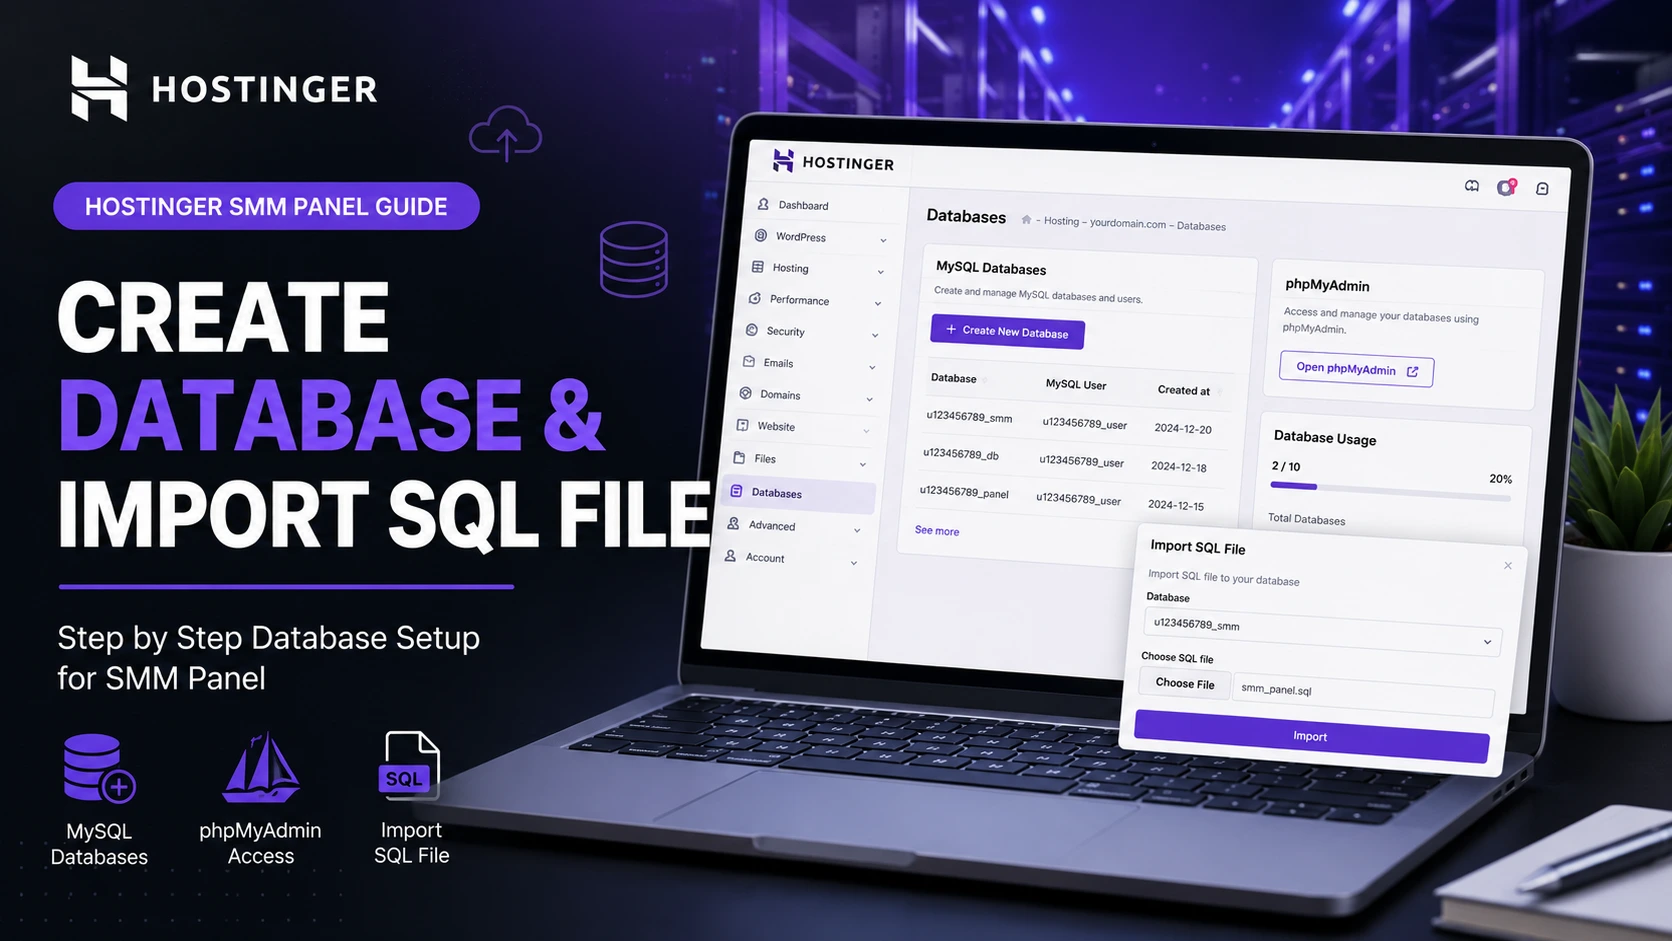
In the left sidebar, scroll down until you find Databases.
Click MySQL Databases.
This page allows you to create new databases and manage existing ones.
Step 3: Create a New MySQL Database
Under Create a New Database, enter the following details:
- Database Name
- Database Username
- Strong Password
For example:
Database Name:
smmpanel_db

Database User:
smmpanel_user

Password:
YourStrongPassword123!
Click Create.
Hostinger will instantly create the database and user account.
Make sure to save these credentials. You’ll need them when configuring your SMM panel script.
Step 4: Open phpMyAdmin
After the database has been created, return to the Databases section.
Click phpMyAdmin next to the database you just created.
The phpMyAdmin interface will open in a new tab.
This is where you’ll import the SQL file provided with your SMM panel script.
Step 5: Import the SQL File
Inside phpMyAdmin:
- Select your newly created database from the left sidebar.
- Click the Import tab at the top.
- Click Choose File.
- Select your SQL file (commonly named
database.sql). - Leave the default settings unless your script documentation says otherwise.
- Click Import.
The import process usually takes only a few seconds for most SMM panel databases.
When the import completes successfully, you’ll see a confirmation message.
Step 6: Verify the Database Import
Look at the left sidebar in phpMyAdmin.
You should now see multiple database tables.
Common tables include:
- users
- orders
- services
- categories
- settings
- payment_methods
- tickets
- providers
If the table list is empty, the SQL file may not have imported correctly.
Step 7: Update Your SMM Panel Configuration
Open your SMM panel configuration file.
Depending on the script, it may be:
.envor
application/config/database.phpor
config.phpEnter your database details exactly as created in Hostinger:
Database Host:
localhost

Database Name:
smmpanel_db

Database User:
smmpanel_user

Database Password:
YourStrongPassword123!
Save the file.
Your script should now be able to connect to the database successfully.
Common Database Errors
Access Denied
Usually caused by:
- Incorrect username
- Wrong password
- Typing mistakes
Double-check your database credentials.
No Tables Found
This usually means:
- The SQL file wasn’t imported.
- The wrong database was selected.
- The SQL file is corrupted.
Re-import the SQL file after verifying the correct database.
Database Connection Failed
Common causes include:
- Wrong database name
- Incorrect database host
- Incorrect username or password
For Hostinger, the database host is usually:
localhostunless your hosting documentation specifies otherwise.
Frequently Asked Questions
Can I use one database for multiple SMM panels?
It’s not recommended. Each SMM panel should have its own dedicated database to avoid conflicts.
Where can I find phpMyAdmin in Hostinger?
You can access it from hPanel → Databases → phpMyAdmin.
What should I do if the SQL import fails?
Check the file size, verify the SQL file isn’t corrupted, and confirm you’re importing it into the correct database.
Can I rename the database later?
Yes, but changing database names requires updating your script configuration accordingly.
Final Thoughts
Creating a MySQL database and importing the SQL file is one of the most important steps when installing an SMM panel on Hostinger. Once your database is ready and connected correctly, the rest of the installation becomes much easier.
Always keep a backup of your SQL file and database credentials in a secure location. If you ever migrate your website or reinstall the script, these backups will save you time and prevent data loss.
Read More:
- How to Install an SMM Panel Script on Hostinger Hosting
- How to Upload SMM Panel Files in Hostinger File Manager
- How to Configure PHP 8.2 in Hostinger
- How to Set Up Cron Jobs in Hostinger
- Common Hostinger PHP Errors and Fixes